
We all know what’s going on with these articles at this point, so let’s delve right into this week’s picks for #s 129-120! For a reminder on the criteria for judgment, see here.
Former guest writer Michael “Mango” Givigliano will be temporarily breaking off from guest writing, and is slated to return when the series is nearing its end.
119. Throne Watcher & Throne Defender (Dark Souls 2)

The penultimate boss of the base game barring players who unlocked the secret boss, this duo was most likely From Software’s attempt at recreating the greatness that was Dark Souls 1’s Ornstein and Smough. With a whole game and then some to try and refine that legendary conflict, how close does this duo come to matching the Anor Londo pair? Unfortunately, not very. As a stand-alone fight, this one is okay, but it misses on one huge detail that stops it from being anywhere close.
Challenge is predictably very high, but is at least somewhat fair. What From Software got right in trying to emulate Ornstein and Smough is designing a gank fight where one enemy moves and attacks at polar opposite speeds of the other. Here, the Watcher is the aggressive one while the Defender is the big, bulky, heavy hitting part of the pair. As such, the player can reliably kite the duo around the map, wait for Watcher to get some distance on Defender, get a couple hits in on Watcher, rinse and repeat. Of course, doing this in practice is much easier said than done due to Watcher’s speed and lethality.
Lore, on paper, seems to pretty much just say “well, there’s a throne, this guy’s watching it and this guy’s defending it.” however, there is a bit more to it. Item descriptions on boss soul weapons suggest that these two have been waiting for something to show up at the Throne of Want for a long time. Because we know, courtesy of Nashandra, that Vendrick was not actually a formal ruler of Drangleic, this explains why the First Flame was never rekindled, ushering in an Age of Dark and bringing forth the Abyss. Because of their proximity to the First Flame, this duo was probably among the first to get corrupted by the Abyss, explaining their immediate hostility. Plus, they are quite possibly awaiting an ‘heir’ to Vendrick, testing the mettle of those who wish to try and take the throne.
Overall, this fight would be very solid and likely to appear much higher on the list were it not for one thing: the boss room. The boss room is notoriously poor for a gank fight, providing nothing but a cliff side the player can fall off of. As has been covered, the Throne Duo do one thing that makes Ornstein and Smough such a legendary boss fight in that their move sets and speed complement each other well without overlapping and making it impossible for the player to get an opportunity to do damage. However, this fight misses one important thing that makes Ornstein and Smough so great; crowd control structures. In the latter fight, pillars found across the room can be used to great effect to try and split the pair up or use temporary respite to find an opportunity to heal or apply a buff of some kind safely. Here, there is absolutely nothing of the sort, and that has a tendency to turn this fight into lengthy kite-strafing where the player gets in 1-2 hits every 30 seconds or so. That makes the pacing for this fight naturally quite slow, tanking the fun category a good deal.
118. Iron Golem (Dark Souls 1)

After what likely was a brutal journey through the notoriously deadly Sen’s Fortress, the Iron Golem represents the last hurdle to be climbed before the player can finally advance towards the wondrous Anor Londo. This is well known for being one of the more sheerly chaotic fights in Dark Souls 1, with a precarious boss area, a hard hitting assailant, and the possible lethal aid of an ally.
Challenge rating here assumes that the player has done their due diligence leading up to the fight, specifically in having dealt with what would otherwise be an incredibly annoying enemy who can help the Iron Golem. There is a giant residing on the rooftop of the fortress, and if he isn’t killed before confronting the Iron Golem, he will help the golem by throwing gargantuan fire bombs that do not damage the golem but can easily eliminate the player swiftly. Not dealing with him suddenly makes this fight extremely difficult, but since he is quite easy to deal with before the fight, it’s reasonable to assume even a new player would do so. Beyond that, the golem does hit hard but the boss area really dictates the flow of this fight. It is done on a rickety old rooftop with numerous places the player can fall to their doom. However, so can the golem! The player can potentially guide the golem to fall straight to its death, and this can potentially take place incredibly quickly. The same can be said for the player though, making the main challenge of this fight essentially an elaborate game of tug of war.
The Iron Golem was directly installed by the gods as a means to essentially gatekeep access to Anor Londo. According to lore, it has slain a good deal of ‘heroes’ who tried to access the city. It is also implied that it holds a secondary function of being a training dummy of sorts, as it has apparently been defeated and reconstructed numerous times, potentially for one of the fight’s NPC summons in Black Knight Tarkus.
The boss area for this one combined with the golem’s relatively versatile talents make this fight surprisingly replayable. The player can try a variety of different strategies; they could simply approach it and fight it as any other enemy, they could try and drive it to a quick death off the rooftop, or they can potentially take a more conservative approach and wait for the golem to come to them, as the very beginning of the area has a bit more stability and is a bit harder to be knocked off of.
117. Last Giant (Dark Souls 2)
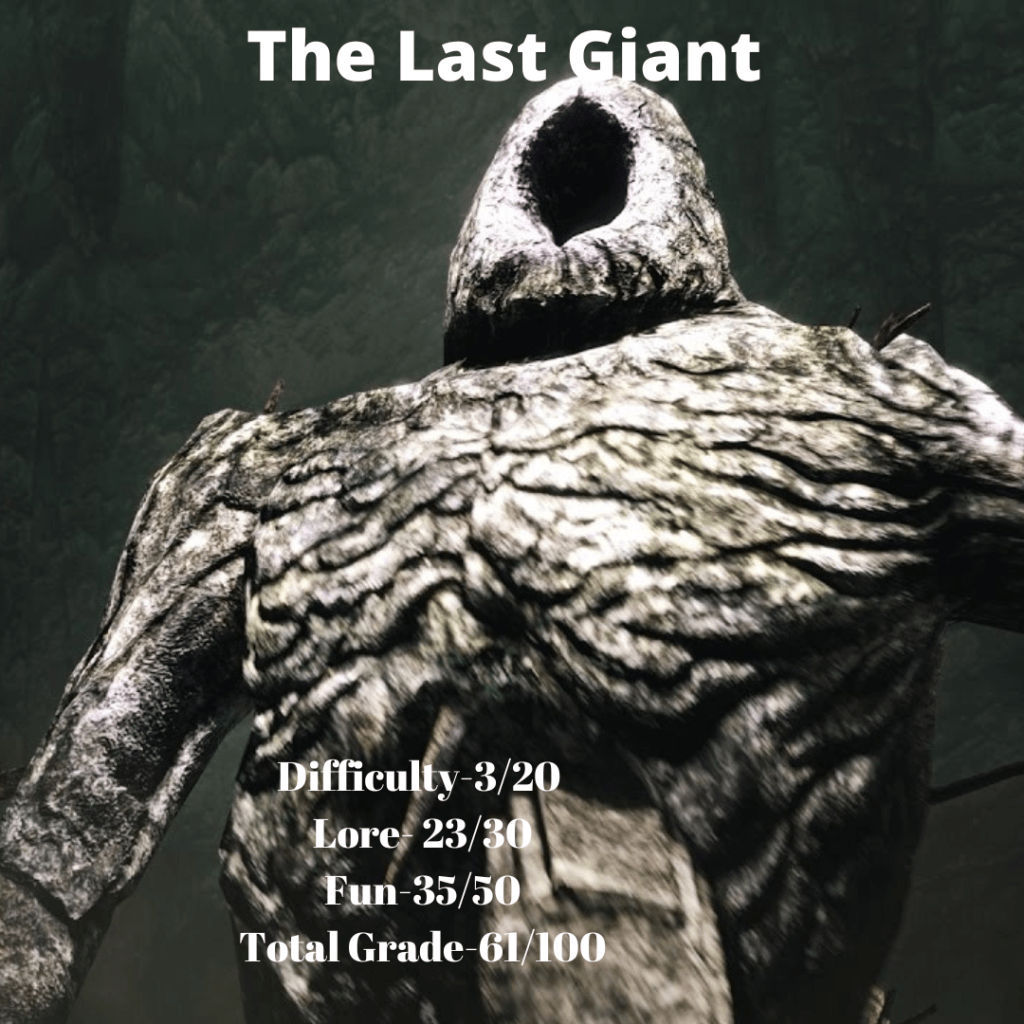
The de-facto tutorial boss of Dark Souls 2, Last Giant was one of many clever, creative narratively designed characters in the game that really showcased the general wit and fore thinking the team had in lore design for the game. Basically, the player will face the Last Giant later in their playthrough, but as will be clarified when discussing lore, this fight here is actually an effort on the Last Giant to avenge its defeat the hands of the player ‘earlier’ in the game’s timeline.
Admittedly, difficulty is pretty low here. Not too surprising, as this is essentially the game’s tutorial boss and will most likely be the first boss the average player faces on their play through. The Last Giant has just one stomping attack during first phase, and though his second phase of him ripping his arm off and using it as a bludgeoning tool sure is gnarly, it doesn’t really complicate matters much. Simply standing behind the Giant and attacking its ankles until it dies will suffice, and can easily be done without taking a single hit. He does hit quite hard for the early game, however, and is likely going to be capable of two-shotting the player, which will at least keep them somewhat honest.
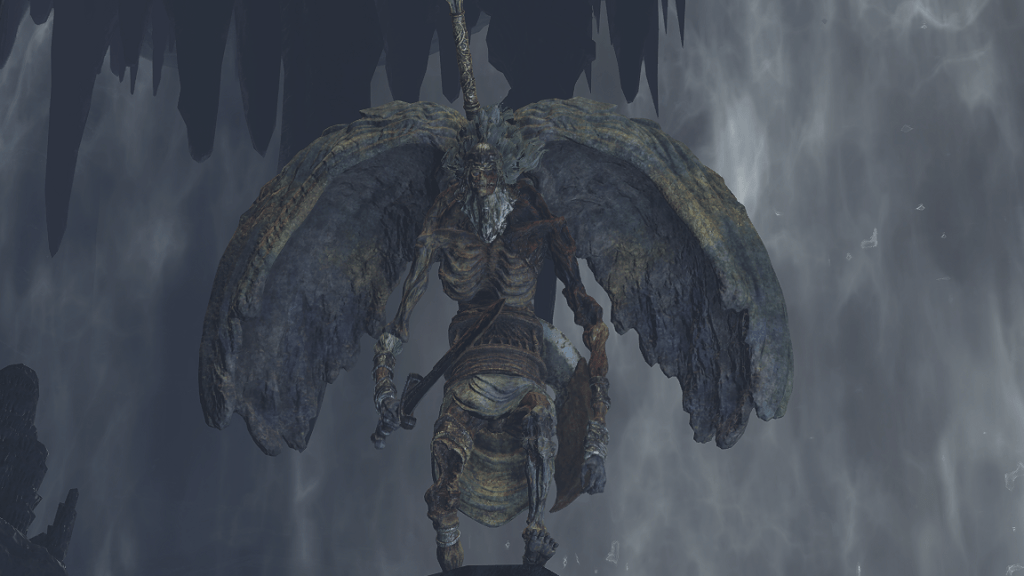
As touched on earlier, the Last Giant is fought under the identity of Giant Lord later in the game. Here, the player has essentially gone back in time to fight the Giant Lord and destroy his invading army. As such, when the Last Giant sees the player here, it isn’t just making a cool entrance, it’s angrily shaking off the rust in preparation to exact its revenge! Really cool, clever story writing makes this boss out to be much more than the sum of its parts.
Given that this is the first boss of the game, it presents some new challenges the player won’t have seen and will help prepare the player to fight other big enemies later in the game. It is a good teacher in that regard, properly fulfilling the role of a tutorial boss.
116. Flexile Sentry (Dark Souls 2)

An interesting gimmick-esque boss fight, Flexile Sentry is a relatively unfortunate victim of its own time, as modernized technology would likely take what was tried here and do it much better. Still, despite being outdated, it is both a well enough design for a boss as well as an interesting contribution to the game’s overall lore.
Difficulty is fairly low here, and that overall noticeably hinders the gimmick that was attempted here. The Flexile Sentry essentially cannot really be flanked, as it’s main body is comprised of two lizard-like creatures being joined at around their spine area as if to create a Siamese twin of sorts. On one side is a lizard dual wielding a club like weapon, while the other sees a lizard cover the other one’s rear with a curved sword and a spear of some kind. As well, there is a small amount of water inside the interior of a pirate ship where the fight is had. As the fight carries on, this water will slowly rise and will begin to hinder the player’s movement, making it progressively harder to fend the sentry off. However, this part of the gimmick is ruined by the sentry’s low health pool and sluggish moveset, meaning the water will scarcely ever actually be a genuine annoyance.
The Flexile Sentry was designed in the image of its owner, who was possibly King Vendrick but was definitely someone who had a warped personality. This particular sentry’s job was to cram the pirate ship at No Man’s Wharf as much as possible with those suffering from the Undead Curse, whereupon the sentry was to transport them to the Lost Bastille where they would ideally never be heard from again. Curiously, we later see other sentries as regular enemies at Frozen Eleum Loyce, suggesting that the benevolent Burnt Ivory King likely put them together for an unknown reason.
Overall, this is an interesting gimmick fight in that it isn’t a puzzle-esque gimmick where the player needs to take a specific maneuver or strategy to win. It’s two unique gimmicks are interesting and give the fight some replayability, albeit being undermined by the overall easiness of the fight. Given that From Software almost definitely played it safe with Flexile Sentry’s stats, it would be good to see them try a fight similar to this again with a good deal more experience and enhanced technology.
115. Dark Sun Gwyndolin (Dark Souls 1)

A ‘secret boss’ of sorts found in Anor Londo, Gwyndolin’s fight is also somewhat affectionately known as ‘hallway simulator’. Gwyndolin is well known for being an immense glass cannon, dishing out tons of damage but having one of the smallest relative health pools of any boss in this game. As a result, this fight typically ends quickly.
Difficulty for this fight is quite a bit demanding, as the player has to constantly maintain a good position lest they be quickly gunned down by Gwyndolin’s Darkmoon Arrows or Homing Soulmass. Stamina conservation is also important, as once the player finally closes the gap on Gwyndolin, they’ll only have a brief period of time to get some hits in on him before he teleports further back into the hallway, resetting the situation. Overall, it is easy to make one mistake and instantly be defeated due to Gwyndolin’s glass cannon nature, giving this fight quite the edge.
Gwyndolin was the first son of Lord Gwyn, and at the time he is confronted, he is the last remaining god within Anor Londo. He is the leader of the Darkmoon covenant, a covenant dedicated to eliminating those who have sinned against the gods. Interestingly, the only way the player can actually access this fight is by uncovering a ruse set by Gwyndolin that dramatically shifts Anor Londo as a whole. As it turns out, Gwyndolin has a massive illusion engulfing Anor Londo, giving a false impression of a beautiful city coated in a stunning sunset and defended rigorously by Sentinels and Princess of Sunlight Gwyneviere. However, Gwyneviere is an illusion, and destroying her is the catalyst to unraveling the rest of Gwyndolin’s trickery, thus eliminating the sunset, causing the Sentinels to disappear and drawing his ire.
For a glass cannon fight, the pacing for this one is rather poor. The fight consists of the player using pillars on the side of a hallway to block Gwyndolin’s projectiles, and doing this until they can get in striking distance of him. He will then teleport a moderate distance backward, and the process repeats until he’s dead. However, it is still a fairly fresh, appreciable concept that gives the fight a niche and makes it memorable.
114. Valiant Gargoyles (Elden Ring)

Yet another gargoyle-centric gank fight, these ironically named gargoyles fight similarly to the Maneaters or Bell Gargoyles. Initially, one will appear to attack the player. After awhile, the second one will enter the fray and cause the gank fight.
Challenge for this fight is pretty extreme. Again, it’s a gank fight and this one doesn’t have any means within its boss area or the move sets of the boss to split them up, making getting in hits safely after the second gargoyle arrives quite difficult. As well, it is extremely easy for them to poison the player. While poison in Elden Ring is indeed weak, this still presents yet another obstacle the player has to deal with in a growing list full of them, which could be the last straw that overwhelms the average player. As a result, this has developed a reputation as one of the harder fights in the game.
From using item descriptions, we can determine that the gargoyles are made up of partially burnt human skin, stone and marble. We don’t get any real clarity as to how or why this is the case. Additionally, we know that these gargoyles serve Maliketh the Black Blade due to item descriptions found on Black Blade Kindred’s gear that links the Valiant Gargoyles to Maliketh. What exactly the gargoyles are doing here or how they serve Maliketh, however, is unknown.
This is one of Elden Ring’s most engaging boss fights due to the sheer amount of problems the player will find themselves dealing with. However, it is very similar to the Godskin Duo in that the player will find it hard damaging the gargoyles up close due to their similar move sets and aggression that tend to cause overlap between one attacking and the other one protecting them from being punished by the player for missing. As a result, the fight can be a bit unfair times, and this is reflected in the fun score.
113. Grafted Scion (Elden Ring)
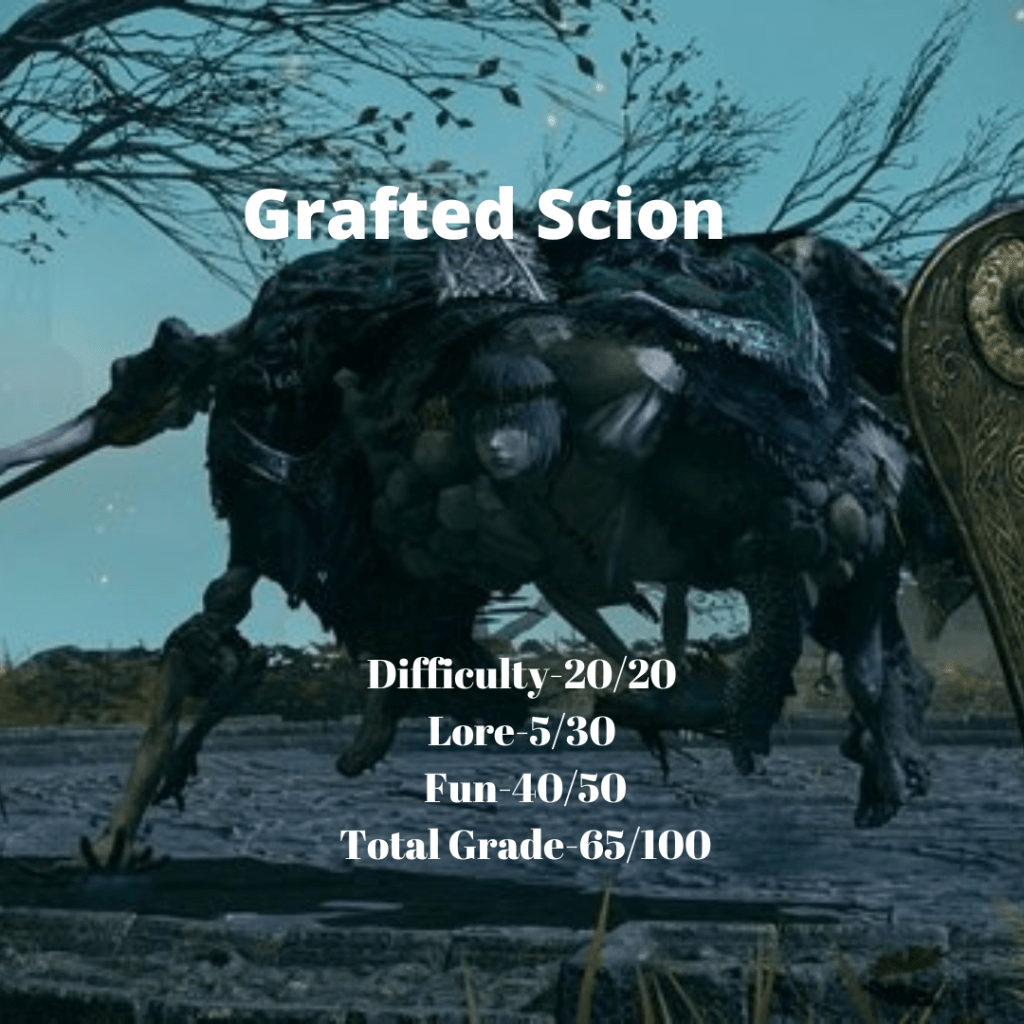
The Grafted Scion inherits the mantle of a Vanguard Demon type boss. It is the first boss the player will face, and considering it’s vastly superior stats to the player, it is almost assured that From Software intended for the player to lose to this boss. It is possible to defeat it, and the player will be rewarded generously if they do.
Unsurprisingly, difficulty for this fight can be quite oppressive. The Grafted Scion here was scaled for a roughly level 50 encounter, meaning that it’s stats are just a bit better than Godrick the Grafted, the second Remembrance boss of the game. With the player having precious little in the manner of resources, it’s easy to see how the odds are stacked heavily against them here. Unlike the Vanguard Demon of whom the Grafted Scion draws a comparison to, the latter attacks much more swiftly and cannot be simply defeated with a circle strafe strategy, as the Grafted Scion can defend itself from all ends due to it having several arms. As such, this fight is deceptively harder than Vanguard Demon. Like Vanguard, the player can only attempt this boss once per playthrough, leaving truly no room for error if they want to come out on top. If you manage to defeat this boss, try and get video footage of the deed, as doing so is quite the accomplishment.
We don’t know a lot about the Grafted Scion due to its limited time in the limelight, but one interesting discovery in Liurnia of the Lakes makes up narrative value. Here, a mini boss version of this boss can be fought. When defeated, it drops a Larval Tear, an item meant to be ‘reborn’ and allow the player to respec their stats. This particular Scion seems to be traveling through Liurnia as it is found, and because they’re meant to be stationed in Stormveil Castle, it is worth wondering: could the Scion have been traveling to the Raya Lucaria Academy to try and be reborn? The scions are found in a pretty pitiful state, noticeably suffering from their awkward form, so it would stand to reason that perhaps they’d want a new form. It is a reach, but it’s the only real narrative value this boss brings to the table.
This boss exemplifies living on the edge, and it does this extremely early in the playthrough of the game. Getting caught in one of its combos can end it all, while victory gives a generous reward of very rare and effective armor and a weapon. Due to the prestigious nature of this fight, it can be quite thrilling to claim victory here.
112. Champion’s Gravetender & Champion’s Greatwolf (Dark Souls 3)
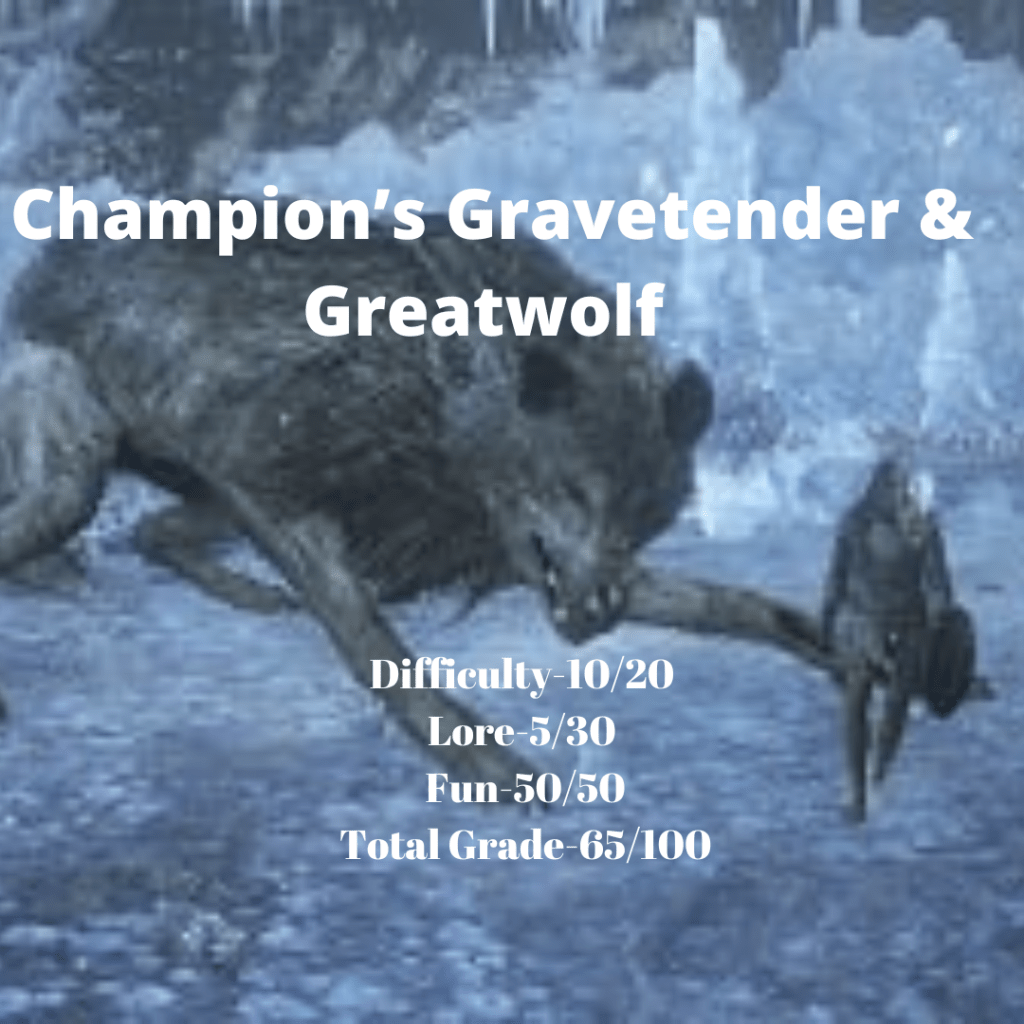
Now this is a gank fight done right. It isn’t up to par with Ornstein and Smough, but it’s a well designed gank fight in its own right. This boss is optional content found in the Ashes of Ariandel DLC, though PvP hungry players likely view it as mandatory, with this boss’ defeat unlocking Undead Match PvP dueling. It takes somewhat of a Maneaters-esque approach of giving the player a one-on-one with the Gravetender for a moderate period of time before the Greatwolf shows up, though smaller wolves do initially aid the Gravetender that can complicate things ever so slightly.
Difficulty is going to at least profile decently due to putting the player at a numbers disadvantage. Admittedly, the only serious challenge stems whenever the player is in a numbers disadvantage, as naturally both the Gravetender and Greatwolf are pathetic when fought one on one. The Gravetender has fairly low health while the small wolves helping him initially will die in two hits at the absolute most. The Greatwolf’s blazing speed and tendency to be a threat at a distance complements the Gravetender’s sluggishness as well, giving the player a classic Ornstein and Smough type of dilemma.
Lore is relatively barren here. However, as the Gravetender drops the Valorheart sword and the Greatwolf drops the Champion’s Bones, it is clear due to their titles that these two likely canonically participated in the Undead Matches that the bones give the player access to. Due to their titles as champion, it is likely that they were incredibly successful.
The biggest reason this fight is a gank done well is that it checks off all the boxes highlighted when discussing Throne Watcher and Defender. Indestructible objects the player can use as crowd control? Check. Two enemies with vastly differing move sets and stats, giving the player the ability to kite them around and reliably, eventually find time for one-on-one? Check. A classic DPS test where the player can potentially avoid the main gank completely if they’re able to skillfully hack away at one of them before the other can show up? Check. Overall, the boss area is absolutely immaculate, giving pillars and a ton of room the player can use to compensate for their numbers disadvantage. If they know the Gravetender well enough and get good damage on him, they can potentially be rewarded for their skillful play when the Greatwolf shows up but is now a lot easier with the Gravetender already dead. As a result, this is one of From Software’s most well balanced gank fights.
111. Leonine Misbegotten (Elden Ring)
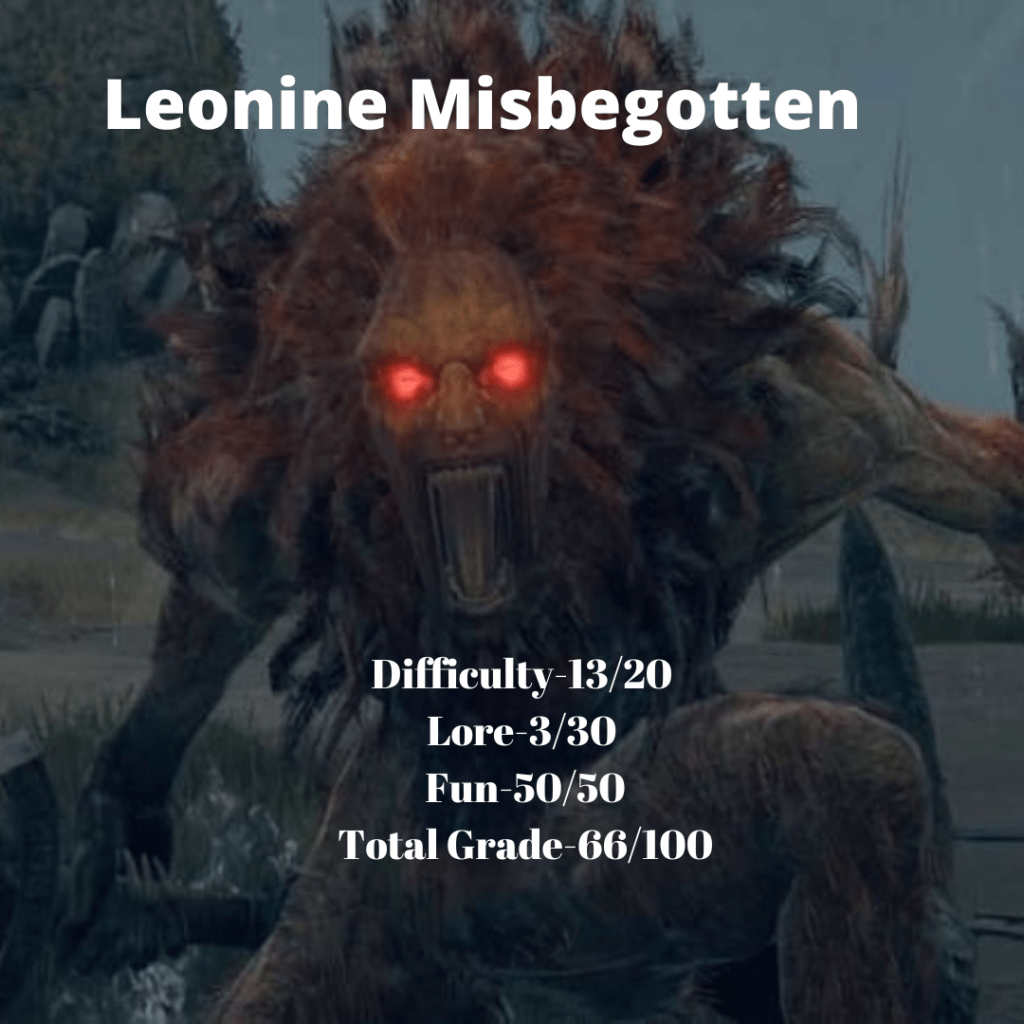
If Russian Roulette was to be embodied in the form of a boss fight, this would have to be it. Leonine Misbegotten is famous for being both highly aggressive and having a massive moveset full of attacks with similar telegraphs that makes predicting what this guy will do quite hard. An early game boss fight at first, it is seen later down the line, but it’s debut appearance within Limgrave is definitely its most memorable.
Difficulty is quite high, as Leonine Misbegotten is very aggressive and, as previously mentioned, reacting to its telegraphs is incredibly hard. It has a total of nineteen different attacks it can use, all of which either come out very fast or bear similar telegraphs to the player while being distinctly different. Reacting to it is thereby challenging and, at a low level, the player will take a lot of damage if they guess wrong. That said, Leonine Misbegotten has a pitifully small health pool and will end up dead in about ten swift hits off a regular broadsword. As a result, while guessing wrong punishes the player a lot, guessing correctly once or twice can straight up end the battle.
Given that there are other Misbegotten Warriors, none of which take on the same beastly form as Leonine nor being as erratic, it stands to wonder what happened to cause Leonine to be the outlier. Due to it being featured in a gank fight alongside the Crucible Knight, it’s reasonable to wonder if it has any connections to the knight. Indeed, it does; Leonine seems to have made contact with the Crucible before the advent of the Erdtree. Much like the knights, the oncoming of the Erdtree seems to have driven Leonine mad, explaining its current form. A little bit of guesswork thrown together by trying to interpret item descriptions, as well as not being terribly important to the game’s broader overall narrative.
This fight is the first truly fast paced fight the player is likely see in Elden Ring. It’s very fast paced nature is an adrenaline inducer, and a down to the wire close fight will likely elevate the player’s heart rate substantially. Given that Leonine has very well defined weaknesses with a unique niche within its massive movepool, this fight is one of Elden Ring’s hidden gems, and a true treat at that.
110. Godfrey, First Elden Lord (Shade; Elden Ring)
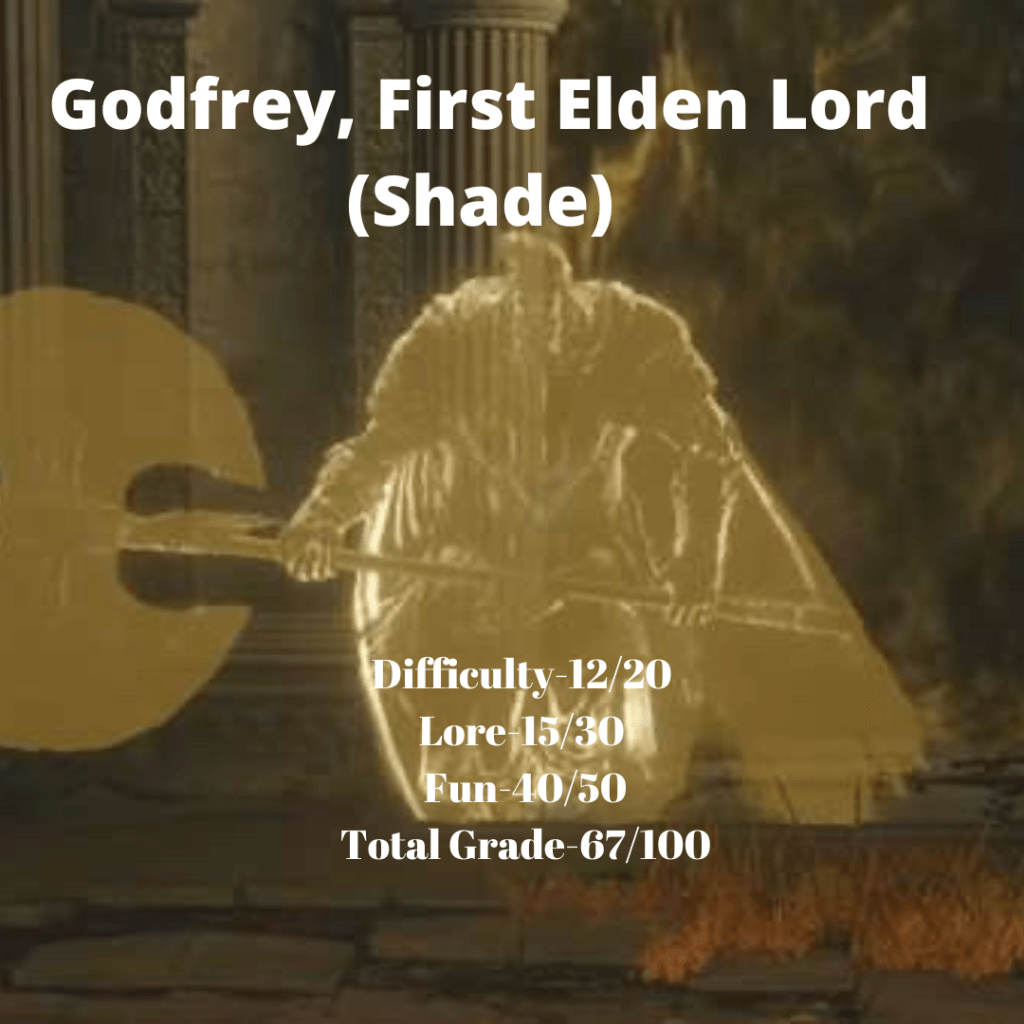
An ‘appetizer’ of a climactic battle before a truly amazing duel awaits the halfway mark of Elden Ring, Godfrey’s Shade form takes the player on deep within Leyndell. It holds back on quite a lot of what makes the real deal threatening, understandable due to it not actually being the real Godfrey.
Challenge is dependent on the player’s build, but is at least decently high. A little bit like Leonine, though Godfrey doesn’t have quite the same massive moveset, he too has three different attacks with the same telegraph featuring different timing, which can definitely throw the player off if they don’t have a great shield. If the player doesn’t have a greatshield, Godfrey’s wide ranged AoE stomp attacks can also trip the player up literally, flooring the player and leaving them open to an easy counter attack. Godfrey’s combos are generally long and hard hitting, making it tricky for non-great shield users to find openings to deal damage. But what if you’re a greatshield user and none of this applies to you? If that’s the case, congratulations as this boss has absolutely nothing to seriously threaten you and becomes a total joke. Other builds will have it a good deal harder.
Godfrey essentially acts as a guard of Leyndell, and he is also married to Marika the Eternal, a pivotal character in the game’s plot. It isn’t clear why he has a shade here instead of the real deal, but his impact as a character on the game’s broad overall narrative is simple and notable.
The biggest issue with this fight from a fun perspective is that Godfrey tends to lean on a few of the same combos using very similar move sets and typically ending with a stomp attack. This can cause the fight to seem slightly monotonous, though his overall aggression and damage output at least make it engaging to mitigate this. If you’re a greatshield user, this fight will seem quite monotonous- all you’ll be doing is deflecting a handful of hits, retaliating once, letting stamina regenerate, then simply repeating the process until Godfrey goes down easily.
Join us next week for picks #109-100!


Leave a comment